
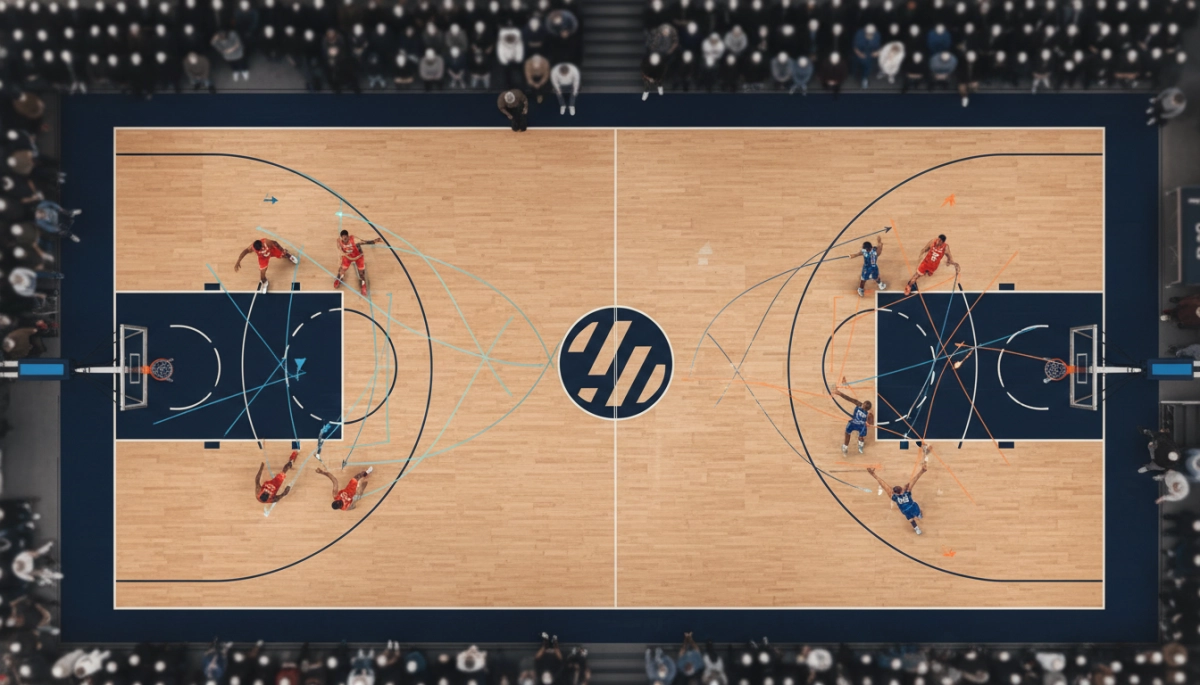
Why understanding modern NBA offenses gives you an edge
When you watch an NBA game, the cleanest possessions often come from well-crafted offensive sets rather than pure isolation talent. Understanding the structures behind those sets helps you read why coaches call particular actions, how players create space, and what defensive reactions they’re trying to exploit. In this first part you’ll learn the core ideas that drive high-level offense and the anatomy of one of the league’s most versatile alignments: Horns.
Core principles every offensive set depends on
- Spacing: You’ll see how separating defenders increases driving lanes and passing angles.
- Read and react: Many plays are less about a fixed sequence and more about reads—if the defense shows A, you respond with B.
- Player roles: Modern offenses ask wings, guards, and bigs to have overlapping skill sets—shooting, screening, and finishing.
- Timing and pace: Execution windows are small; the best teams create advantage before help arrives.
Horns alignment: structure, goals, and simple reads
Horns is one of the most common front-court alignments you’ll see because it balances inside and outside threats while preserving spacing. In Horns, two bigs start at the high elbows, two wings occupy the corners or weak-side, and the ball-handler is at the top. That setup gives you multiple immediate options and disguises intent.
Anatomy of Horns and what you can attack
- High elbow screens: With both bigs up top, you can run pin-downs, slip screens, or drags; each creates different matchups depending on how defenders communicate.
- Ball-handler options: You’ll choose between attacking the screen, triggering a pick-and-roll, or reversing to shift defensive pressure.
- Corner spacing: Keeping shooters in the corners stretches the defense and punishes help rotations.
Typical defensive responses and offensive counters
When opponents switch on the high screens you call for quick post-ups or iso opportunities—if you want size on a guard, you can exploit it. If the defense goes under screens to protect the paint, you’ll use more ball-screen threes and off-ball screening to free catch-and-shoot looks. Knowing the defense’s tendencies lets you pick the right Horns action every time.
Horns is a framework rather than a single play: once you understand these pieces, you can layer into drag screens, stagger actions, or delayed post-ups. In the next part, you’ll get a close look at the primary Horns actions—pindown, stagger, and drag—and step-by-step reads that turn those looks into high-percentage scoring opportunities.
Primary Horns actions: pindown, stagger, and drag
Horns gives you multiple screen flavors from the same alignment. Here are the three workhorses and what each is trying to create.
- Pindown: A high elbow big sets a down-screen for a wing coming off the baseline. The goal is a quick catch-and-shoot, a curl into the lane, or a drive if the defender overplays. Because the screener starts elevated, the defender has a longer path and the screener can either pop, roll, or seal for a short roll/post touch depending on matchups.
- Stagger: Two sequential screens—often an elbow screen followed immediately by a flare or pin—designed to create separation for an off-ball shooter. Staggers work best when defenders are either late communicating or when the first screen forces a switch that the second screen exploits. Timing is everything; the shooter must reach separation precisely when the ball is arriving.
- Drag (a.k.a. off-ball/flat drag): One big sets a screen and then immediately drags toward the ball-handler, initiating a pick-and-roll in motion. Drag screens are effective because the screener attacks downhill, creating mismatch opportunities and forcing early help decisions. They’re particularly useful against drop coverages and teams that are slow to rotate from weak-side corners.
Step-by-step reads to convert Horns actions into high-percentage shots
Turn these actions into points by training specific reads for each role on the floor. Below are practical sequences and what to watch for in real time.
Pindown sequence
- Ball-handler: Read the screener’s defender—if they hedge hard, look for the short roll or a skip to the opposite corner. If the defender goes under, throw the receiver a catch-and-shoot.
- Shooter: Plant and use the screen’s momentum—if the defender fights over, curl into the lane; if they trail, step out for the three.
- Screener: Be ready to pop, roll, or slip depending on whether the defense switches, shows, or runs over the screen.
Stagger sequence
- Initiate with spacing—corner shooters must stay wide to keep help honest.
- First screener: Force a reaction; if the defender goes under, the second screen can free a cleaner look. If the defense switches, the second screener can re-screen or clear for a mismatch.
- Ball movement: Get the pass to the shooter within one catch; delays allow the defense to recover.
Drag sequence
- Ball-handler: Attack the drag immediately—if the big’s defender trails, you have a downhill advantage; if they switch, hunt the mismatch.
- Screener: Drag hard into the lane and read whether to short-roll, pop, or seal depending on the coverage (drop, switch, or hedge).
- Weak-side: Rotate shooters into corners to punish drop coverage and open kick-out lanes.
Advanced tweaks and how to layer Horns into full possessions
Horns is a catalyst: mix in slips, re-screens, and stagger-to-drag sequences to keep defenses guessing. A quick slip on the first pindown can exploit over-aggressive defenders; converting a stagger into a drag forces the defense to choose between protecting the rim or contesting threes. Always track the shot clock window—early-clock Horns actions aim to create quick, clean shots; late-clock versions pivot toward post-ups or isolations after the screen sequence stalls.
Finally, practice preset reads so players don’t overreact. The best Horns executions are simple: set the right screens, recognize the defensive cue, and take the highest-percentage option before help arrives.
Putting Horns into practice
Install Horns deliberately: start with the simplest reads, build timing, then layer in slips, staggers, and drags. Drill the specific role reads until they become automatic—when everyone trusts the process, options and improvisation follow naturally.
Practice progressions
- Walk-throughs: Run pindown, stagger, and drag at half speed focusing on screener angles and spacing.
- Live rep drills: Add a defender to force decisions—work both the initial reaction (hedge, switch, drop) and the counter (pop, roll, slip).
- Shot-clock simulation: Practice early-clock Horns for quick shots and late-clock evolutions into post or iso reads.
Coaching cues and on-the-fly adjustments
- Keep corner shooters engaged—remind them to close out the arc to punish drop coverage.
- Teach the screener to sell the initial set before committing to roll, pop, or slip.
- Use simple verbal or visual cues to toggle between stagger-to-drag or pindown sequences so the offense can adapt during games.
Study, refine, and expand
- Watch game film with an emphasis on how defenses react to each Horns flavor; tag tendencies and incorporate countercalls into practice.
- Explore additional resources—start with the league’s coaching material for modern schematics and examples: NBA coaching resources.
- Measure success by open-shot frequency and turnover rate, not just points—those metrics show whether your reads and spacing are functioning.
Mastery comes from repetition, clear roles, and a willingness to adapt the set to your personnel. Use Horns as a flexible foundation—practice the reads, trust the timing, and let simple, repeatable decisions create consistently better shots.